
How to Use a Keurig Coffee Maker: About the Book: A Step-by-Step Guide
The Keurig Coffee Maker is easy to use and comes with the function for brewing a cup of coffee while easing the user of the brewing process. This article will take you through the initial setup of the machine and how to brew your coffee as well as how to keep your machine in good condition.
1. If you are using a Keurig coffee maker you have to prepare it as follows;
The first thing that should be done before brewing your first cup is the proper installation and cleaning of the machine. Follow these steps:
Fill the Water Reservoir: The water reservoir is always at the rear, or sometimes at the side of the machine, depending on the model. Take the reservoir away from the coffee machine refill it with clean water then replace it in the machine.
Turn on the Machine: Connect the power cord and turn on the Keurig by pressing the power button. The machine will then set the water ready for brewing, doing the preparation before the brewing process.
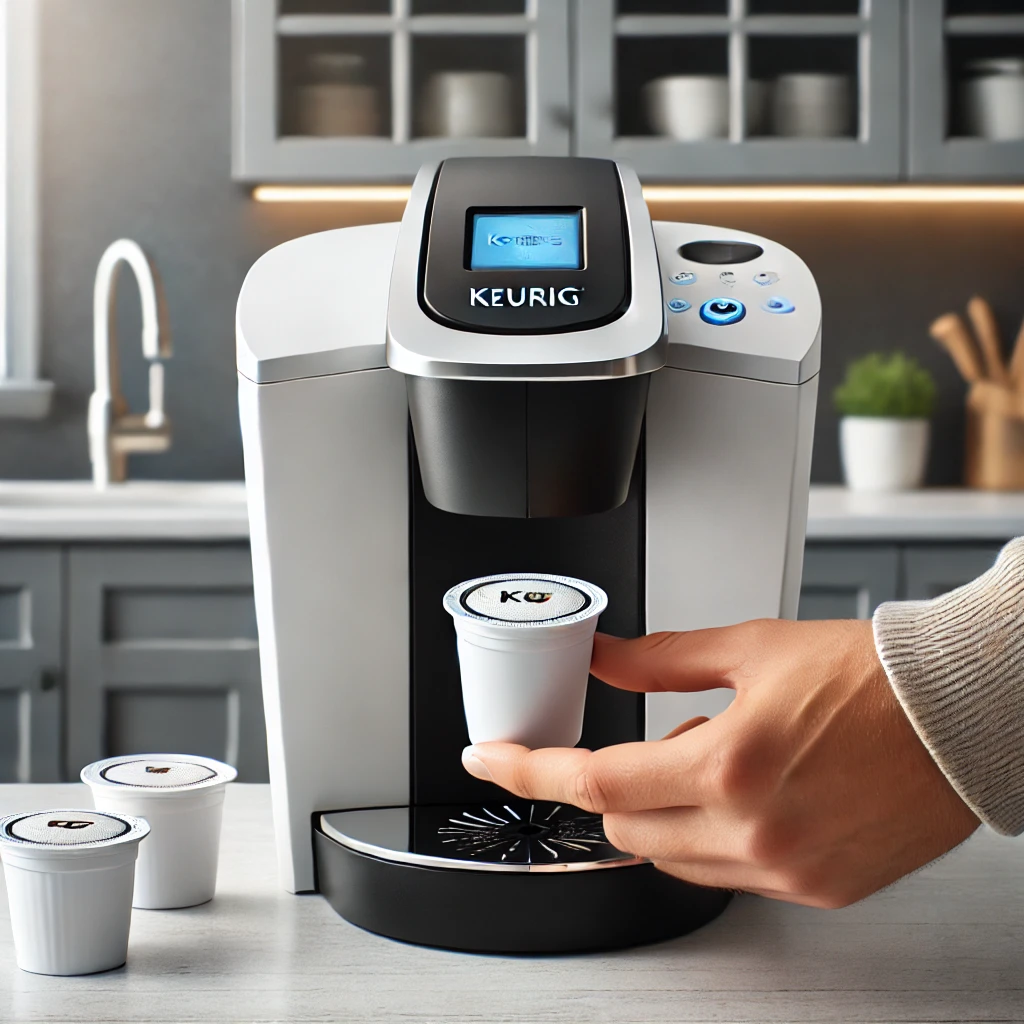
2. Choose Your K-Cup
K-Cups are specially made small portioned packages of coffee that are intended for use in Keurig brewing machines. They have different flavors and roasts with tea and hot cocoa selections as well.
Insert the K-Cup: Press the button of the handle on the Keurig to open the pod chamber. Insert the chosen K-Cup into the slot, and ensure that it is well fixed it the slot in the appropriate position. Lift up the lid until you hear the clicking sound.
3. Select the Brew Settings
Different Keurig models offer various customization options for your brew:
Cup Size: Select the cup size that you want by operating the button with the corresponding number in the control panel. Sizes available are between 6 oz and 12 oz and the higher sizes produce a lighter brew.
Brew Strength: Some options for the coffee strength include options such as “Strong” or “Bold” if you want more concentration of coffee.
4. Brew Your Coffee
When you have your K-Cup in place and your settings the Brew button is pressed. This will involve the machine heating water to the right temperature the pumping the water through the K-cup to the coffee.
Brewing Time: The coffee-making process is normally done for below one minute and after preparation, brewing of the coffee the brewed coffee will be served in your cup.
5. Recycle the Used K-Cup and Take a sip.
When the brewing process is over, raise the handle to used K-Cup to make the process. Be ware though it might still be hot. Discard the K-Cup as suggested and your coffee is now ready to be brewed and savoured.
6. Keurig Descaling: Tips for Cleaning Your Coffee Maker
Regular maintenance is crucial for keeping your Keurig in good working condition:
Descale the Machine: For the removal of minerals, you should put a descaling solution through the machine at intervals of three months. It assists in ensuring that your coffee does not only retains its performance but also taste as well.
Clean the Water Reservoir and K-Cup Holder: These part should be washed normally with warm water that has soap so as to avoid the growth of mold and bacteria.
Wipe the Exterior: Wipe the outside of the machine with a cloth moistened in warm water taking extra care around the brew head and the control buttons.
Conclusion
When it comes to having a cup of Joe in the comfort of your own home, operating a Keurig Coffee Maker is very easy. If you follow the procedures outlined above as well as take care of your machine well, you will be able to enjoy delicious coffee all the time.